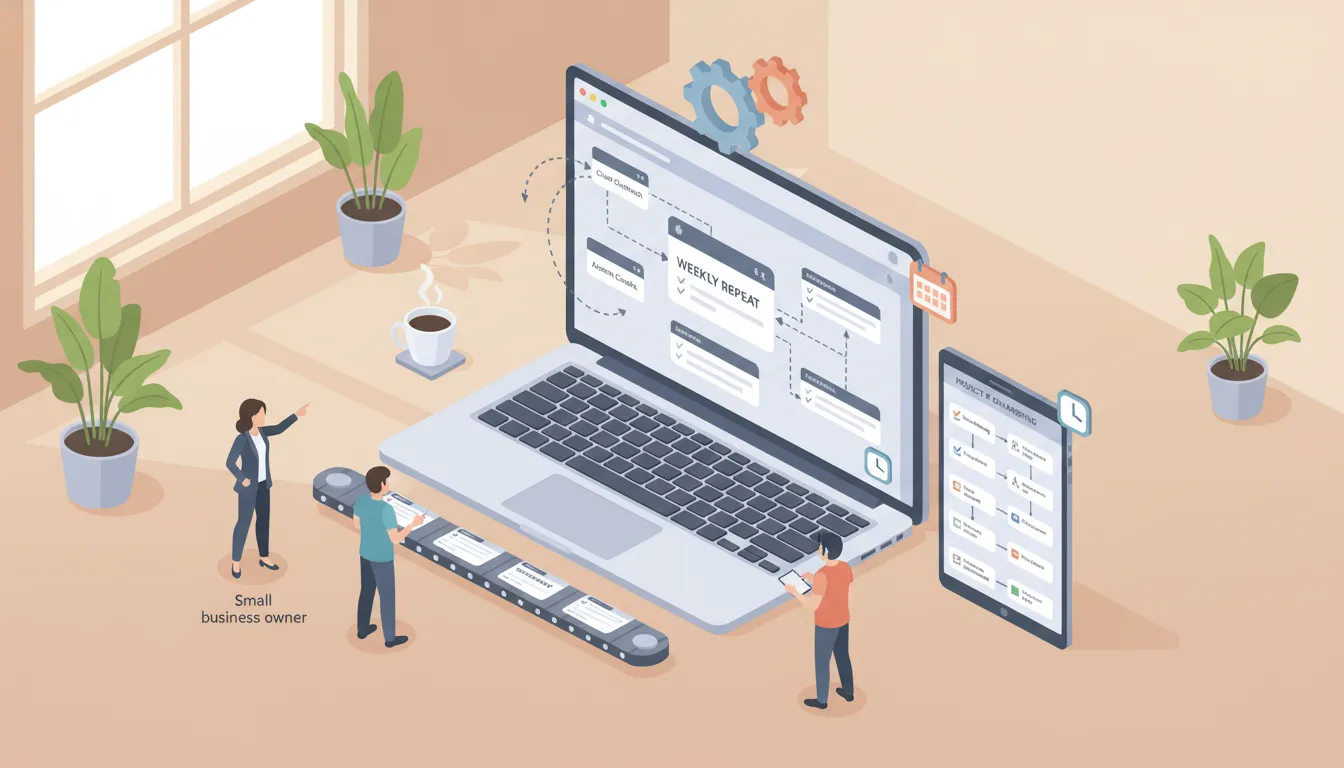
If you run a small business or a nonprofit, creating consistent, repeatable processes is the fastest way to scale without chaos. ClickUp gives you a lot of flexibility, which is wonderful until it feels overwhelming. This guide lays out six practical approaches to turn your process maps into usable templates inside ClickUp, plus hybrids and tips so your team actually uses them.
Each approach below is real-world tested and chosen with everyday constraints in mind: limited time, small teams, freelancers, volunteers, and the need to protect institutional knowledge. You’ll learn when to use each method, the tradeoffs, and concrete steps to implement it. Keep this as a toolkit: mix and match methods depending on the process complexity and who’s doing the work.
Why the template strategy matters (and the versioning headache)
ClickUp templates are powerful but they follow a common project-management model: you save a copy of something and then duplicate that moment in time. That means templates create instances. When you change the template later, existing instances don’t magically update. For short, rarely changing processes that’s fine. For long client projects, recurring orders, or SOPs that you refine often, that versioning model quickly becomes a maintenance burden.
That’s why some approaches below use ClickUp Docs as a single source of truth and others keep everything inside tasks for visibility and interactivity. The right choice depends on how often your SOP will change, who needs to see steps in their task lists, and whether you trust your team to suggest edits directly.
How to choose a method
Ask these three questions before picking a template style:
- How often will this process change? If frequently, prefer a doc-based or hybrid approach to avoid manual updates across instances.
- Does each step need assignees, due dates, dependencies, or time estimates? If yes, use subtasks or subtasks linked to a doc so steps appear on people’s lists.
- Who will be executing this? Trusted in-house team members can edit live docs. Contractors or volunteers might need non-editable guides or a feedback form instead.
Quick map of the six methods
- Task with Subtasks
- Task with Checklists
- Task with Description
- Task with Embedded Editable Doc
- Task with Public (Non-Editable) Doc Link
- Hybrid: Task + Non-Editable Doc + Minimal Subtasks/Checklist
Method 1 — Task with Subtasks (the traditional project-first template)
This is the classic: create a task that represents the whole process and add a subtask for each step. Subtasks can have assignees, due dates, priorities, custom fields, and dependencies. That means they appear in people’s task views, can be filtered by due date or assignee, and can trigger notifications when one step finishes and the next becomes available.
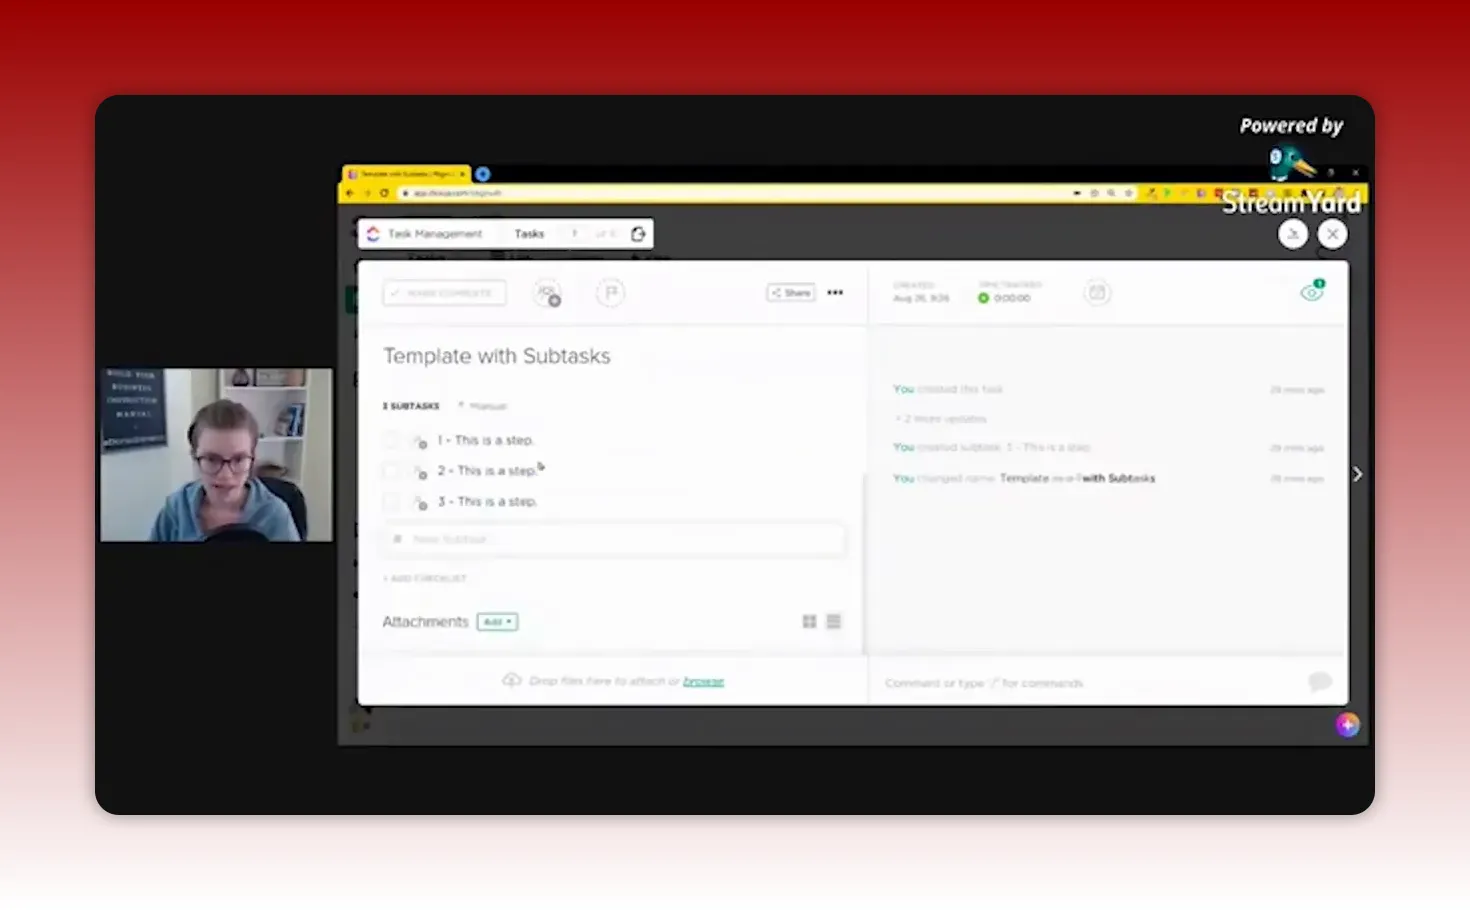
When to use it
- Processes where each step needs ownership and scheduling (e.g., client onboarding, grant reporting).
- Teams that rely on task-based visibility and want steps to show up in individual work queues.
Benefits
- Visibility: Subtasks surface in lists and boards so team members see assigned items easily.
- Control: Use dependencies to create a relay-race handoff and avoid work being done out of order.
- Detail: Each subtask has its own description and checklists for micro-steps.
Tradeoffs
- Because templates create instances, every live copy must be updated manually if the process changes.
- Printing or compiling a single readable SOP from nested subtasks can be awkward.
- Too many subtasks can feel heavy for simple processes.
Quick implementation checklist
- Create a task titled for the process (for example "Newsletter Production - TEMPLATE").
- Make a subtask for each step. Keep titles short and consistent.
- Number subtasks with a leading zero (01, 02, 03) to preserve order even if someone sorts by priority or due date.
- Set dependencies where logical (use "blocked by" or "blocking" relationships).
- Save the task as a template or keep it in a "TEMPLATES" space and duplicate when needed.
Tip: Use leading zeros in your numbering so sorting doesn't scramble your intended order. For instance, use 01-Write draft, 02-Review, 03-Publish.
Method 2 — Task with Checklists (the simple, low-friction SOP)
Keep one task per process but use the task's checklist area for the step list. Checklists are simpler than subtasks and can include nested checklist items for micro-steps. They reset automatically when you reset the task and feed into task progress if you have that custom field enabled.
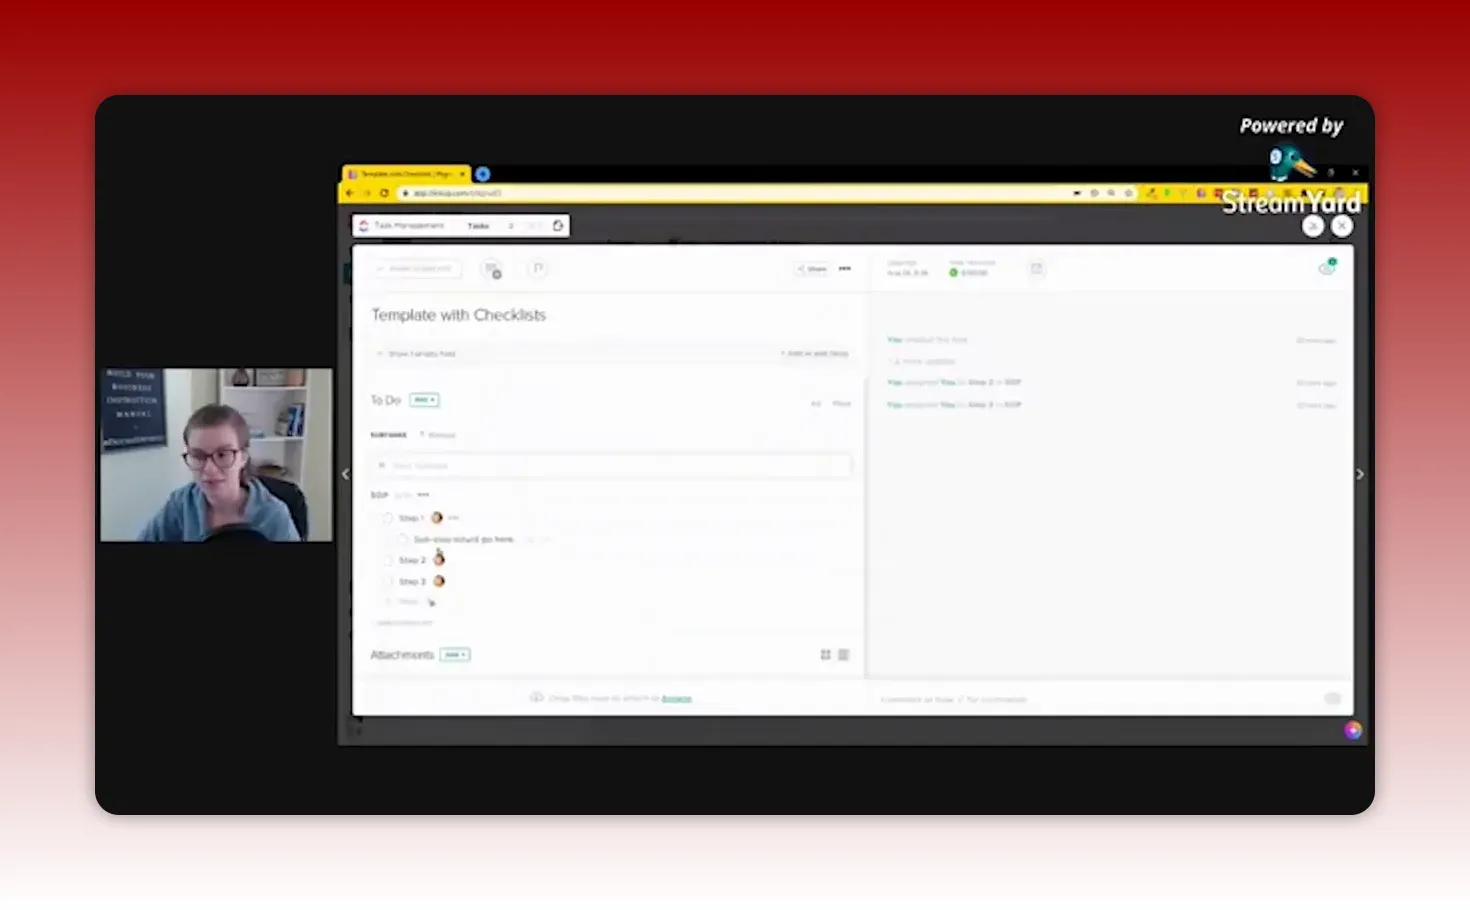
When to use it
- Short, repeatable work that doesn’t need individual due dates per step (e.g., social post scheduling, short event prep).
- Teams who want an easy visual checklist inside a single task without additional subtasks cluttering personal views.
Benefits
- Simplicity: Easy for volunteers or casual contributors to follow.
- Reset friendly: Resetting a task resets its checklist, making task templates easy to reuse.
- Printable: Checklists print in a more readable layout than nested subtasks.
Tradeoffs
- Checklists have less visibility in personal task views; items do not appear as separate tasks in assignees' queues.
- Limited metadata: you can assign checklist items, but you cannot attach due dates, priorities, or dependencies to individual checklist items like you can with subtasks.
How to implement
- Create a template task to represent the SOP.
- Populate the checklist with ordered steps. Use nested checklist items for sub-steps.
- Keep the task assigned to the person responsible for overseeing completion, so it shows up in their queue.
- Save as a task template or duplicate from a Templates list when needed.
Method 3 — Task with Process in the Description (document-style SOP inside a task)
Write the full SOP inside the task description using ClickUp’s rich text editor. You can add checkboxes, bullet lists, embedded content like video walkthroughs, and links. This feels more like a document and can be a comfortable place to evolve an SOP that starts as narrative and later becomes structured.
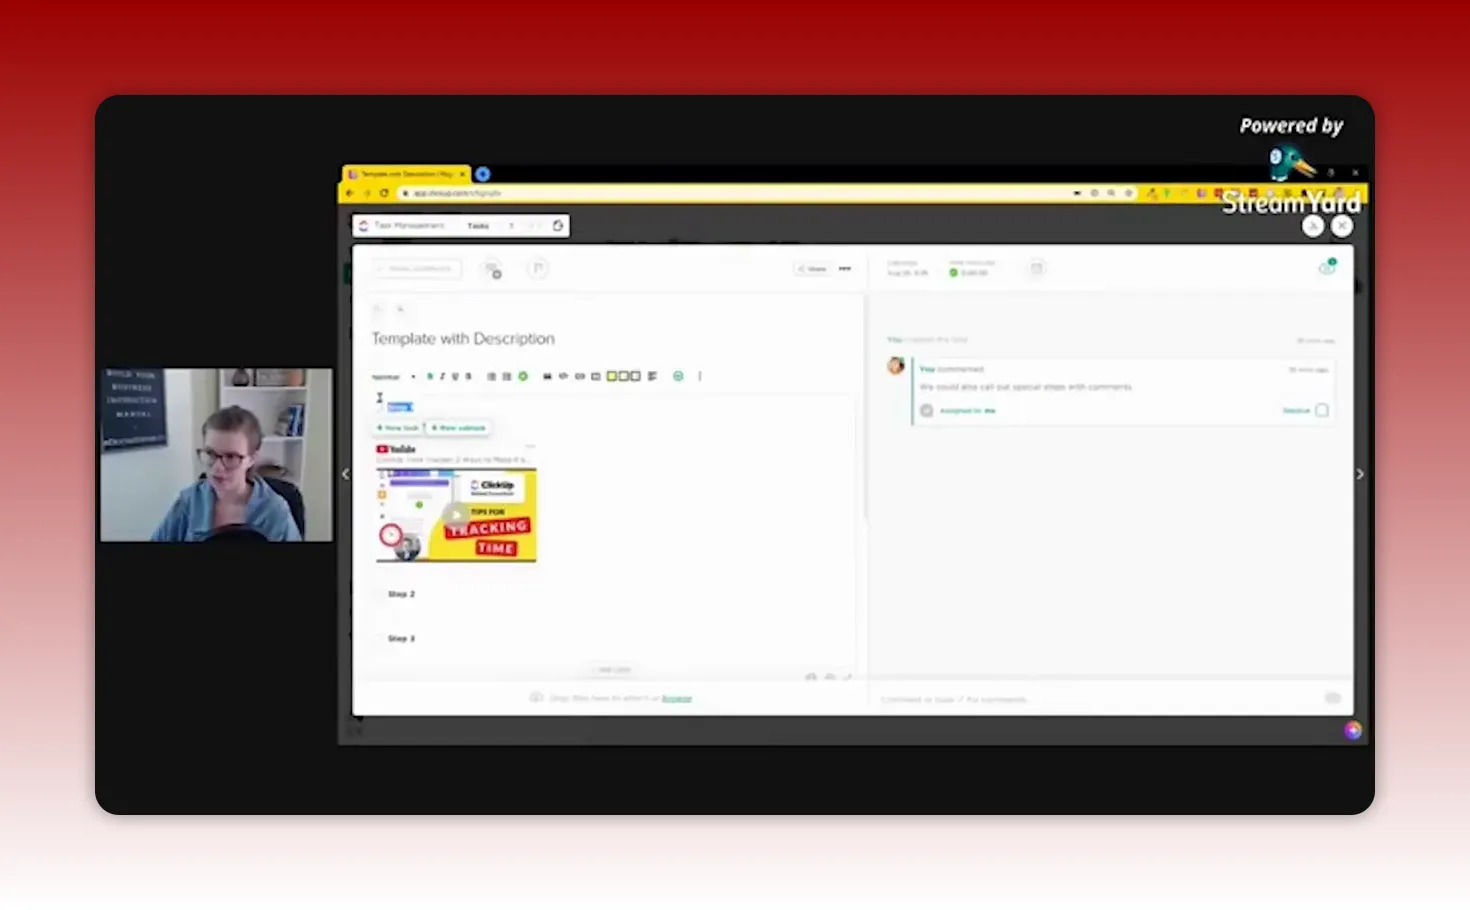
When to use it
- Processes that are best explained with narrative, context, and examples (e.g., donor stewardship guidelines, editorial guidelines).
- Teams that like a single-page SOP next to the task they’re executing.
Benefits
- Readable format: Cleaner printing, better formatting, and fuller contextual explanations compared with nested subtasks.
- Embed-friendly: Place tutorial videos, images, or links right next to the step list.
- Flexible evolution: Great for processes that start as a written narrative and might later be broken out into subtasks.
Tradeoffs
- Still subject to the instance/version problem when the description is copied into task templates.
- Not as interactive as subtasks for assigning or tracking step-level progress.
How to implement
- Draft the full SOP into the task description. Use headings, numbered lists, and embed media where useful.
- Link to external templates or resources if relevant.
- Save the task as a template or keep it in a central Templates space to duplicate.
Why Docs? When you should use ClickUp Docs for SOPs
ClickUp Docs act as a single source of truth because they are links rather than copied content. If you reference a doc from multiple tasks, updating the doc updates everywhere that link is referenced. That makes Docs the go-to option for processes you update frequently or for long-running projects where you cannot be changing every live instance by hand.
Method 4 — Task with Embedded Editable Doc (live-edit allowed)
Create a ClickUp Doc that contains the full SOP, then embed it inside the task. The doc is editable by people with access, so the executor can update the SOP as they discover improvements. This method makes it easy for contributors to suggest changes in the moment, keeping procedures fresh.
When to use it
- Small teams or in-house staff who are trusted to update SOPs responsibly.
- Processes that are still being iterated and need frequent tweaking.
Benefits
- Live edits: The executor can improve the doc while doing the work, reducing knowledge decay.
- Single source of truth: Changes take effect immediately for everyone referencing the doc.
- Embed convenience: Docs can be embedded into tasks so the workflow and the instructions sit side-by-side.
Tradeoffs
- If editing permissions are too open, you risk inconsistent wording or accidental changes.
- Opening the doc often requires a second window or a split-screen for practical execution since checklists and task completion are still in the task view.
How to implement
- Create a ClickUp Doc for your SOP and format it for readability.
- Embed the doc into the task description or attach it via the attach/link area.
- Ensure the right people have edit permissions and consider an "edit history" habit or a brief change log section in the doc.
Method 5 — Task with Public (Non-Editable) Doc Link (locked SOP)
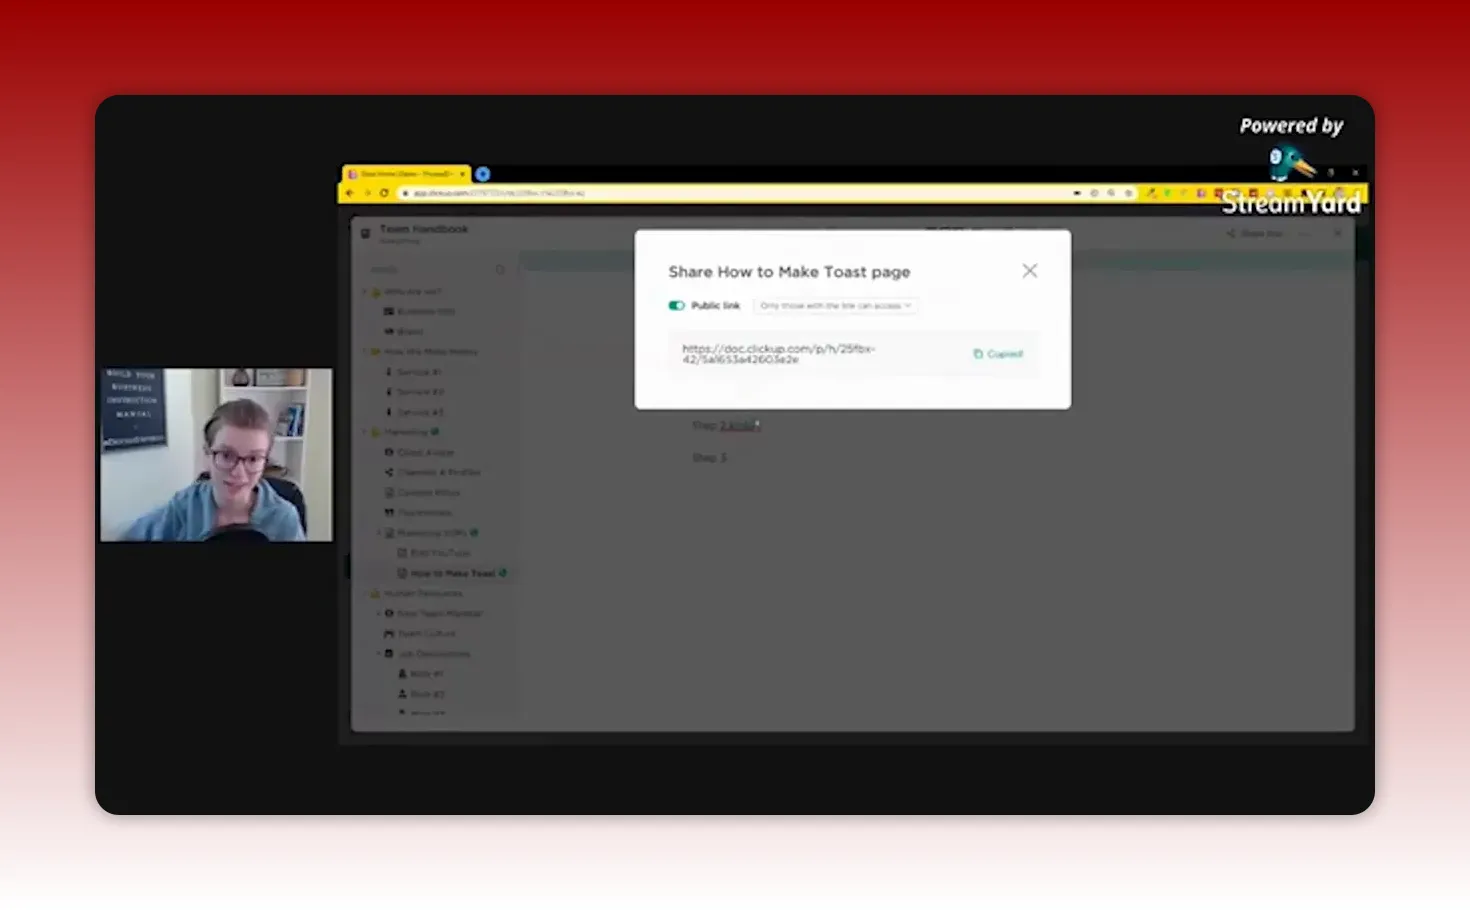
Generate a public read-only link for the ClickUp Doc and paste that link into the task (or a custom field). This allows workers, contractors, or volunteers to access a protected version of the SOP without being able to change it. It’s helpful when you want to protect institutional knowledge or control versioning through a smaller editorial team.
When to use it
- Working with external contractors, temporary help, or volunteers who should not modify the canonical SOP.
- Legal or compliance-sensitive processes that must be standardized.
Benefits
- Protection: Prevents accidental edits and preserves the official process.
- Single source of truth: Update the master doc only through controlled channels.
- Ease of access: Paste the public link into a custom field for fast access.
Tradeoffs
- When users find a better way, they cannot directly edit the doc. Feedback must be routed through a form, ticket, or message, which can slow improvements.
- Like other doc approaches, you still probably need split-screen work to follow instructions and complete tasks.
How to implement
- Create or finalize the master ClickUp Doc.
- Generate a public read-only link and paste it into the task description or a custom "SOP link" field.
- Provide a simple feedback mechanism (a ClickUp Form, a task to submit improvements, or a tag to flag suggested changes).
Method 6 — Hybrid: Non-Editable Doc + Minimal Subtasks or Checklist (the best of both worlds)
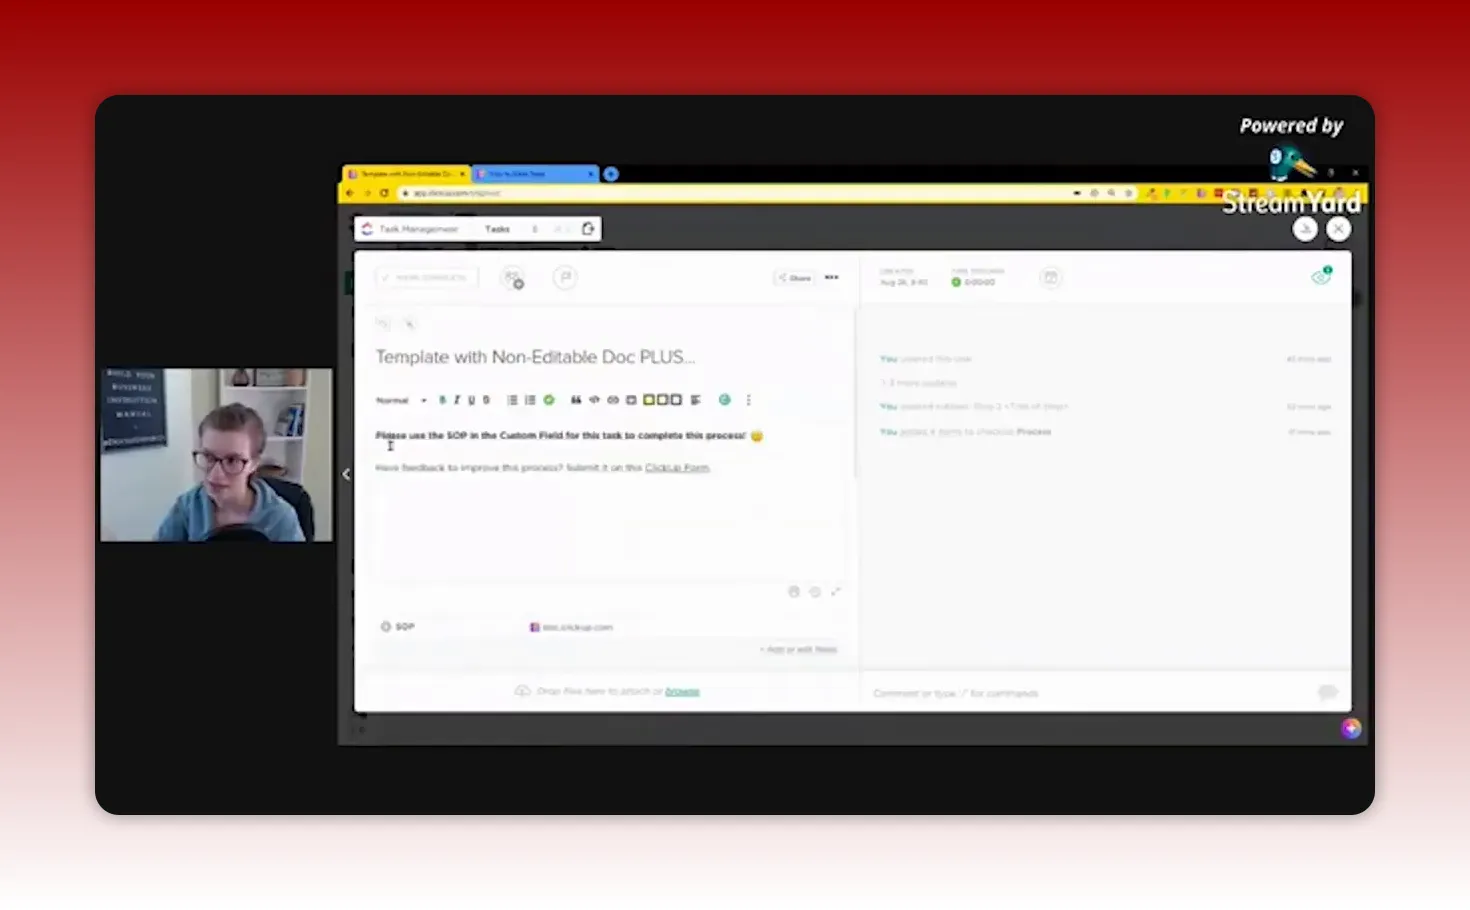
The hybrid approach attaches a non-editable doc for the canonical process while adding minimal subtasks or a checklist inside the task that reference the doc. Subtasks contain short step titles like "Step 01 from SOP" and point workers back to the referenced doc for details. This preserves visibility, allows you to use task-level features like dependencies and time estimates, and avoids the versioning problem because the full instructions live in the doc.
When to use it
- Processes that need step-level tracking but also require controlled, centrally updated instructions.
- Organizations that want to enable quick feedback without giving widespread edit access to the SOP.
Benefits
- Visibility plus centralization: Steps appear in task lists, and the up-to-date instructions live in one doc.
- Controlled edits: Only people with permission change the master doc; others can submit improvement requests.
- Flexible tracking: Use dependencies, time estimates, and assignees on the subtasks while avoiding duplicated instructional text.
Tradeoffs
- Requires a little more initial setup: a doc, the public link, a custom field, and then step placeholders inside the task.
- Workers need to click into the doc for details, which may add a tiny friction compared to seeing full instructions inside the task.
How to implement
- Create the master ClickUp Doc and publish a public non-editable link.
- Add a custom field to your template task called "SOP" and paste the public link there.
- Create short step subtasks that reference the doc (e.g., "01 - Draft (see SOP)").
- Add a feedback mechanism inside the task description like "Have an improvement? Fill out this form" or tag a small improvement team.
Practical comparisons and recommended defaults for small orgs
Use this quick decision matrix to pick a starting point:
- Daily/Weekly, short, well-known tasks: Task with Checklists.
- Processes requiring strict sequencing and scheduling: Task with Subtasks and dependencies.
- Processes that change often or are long-lived: Use Docs (editable for trusted teams, non-editable for wider audiences) or the Hybrid model.
- When volunteers or contractors are involved: Public non-editable Docs plus task-level placeholders work well.
Tips to make any method work better
- Number steps with leading zeros: Avoid sorting problems. Use 01, 02, 03 instead of 1, 2, 3.
- Use a Templates space: Store a canonical copy in a dedicated Templates folder to avoid accidental edits and to make duplications predictable.
- Add a process owner custom field: Track who owns the SOP and who is responsible for updates. This promotes accountability.
- Include a simple feedback path: Add a short form or a "suggest improvement" link inside the task so executors can flag better ways without breaking the doc.
- Keep printing in mind: If you need printable SOPs, descriptions and docs print better than nested subtasks.
- Train your team on the chosen approach. Consistency beats theoretical perfection.
How to transition from a process map to a ClickUp template
Many small organizations get stuck between a perfectly reasonable process map and the fear of implementing it in a tool. Reduce friction with a small, iterative rollout:
- Pick one pilot process that the team runs regularly and is important to get right (e.g., client intake or monthly newsletter).
- Choose a template method based on the process length and who executes it.
- Build a minimal template: include just the crucial steps and links to the full SOP doc if relevant.
- Run the process live with your team: ask people to take notes and submit improvements using a simple form.
- Refine the SOP: update the doc or template monthly until it feels stable, then replicate the setup for similar processes.
Examples for small businesses and nonprofits
To make this concrete, here are common use cases and matching template recommendations.
Example 1 — Nonprofit grant application
- Recommendation: Hybrid method. Use a non-editable doc for compliance requirements, plus subtasks for each application milestone (research, draft, internal review, submit).
- Why: Grant workflows are long, often involve multiple stakeholders, and require consistent language for funders.
Example 2 — Small e-commerce order fulfillment
- Recommendation: Task with Subtasks if each order has multiple hands-off steps; or Task with Checklists for very small teams doing everything themselves.
- Why: Orders need step-level visibility and quick tracking, but if fulfillment takes minutes, checklists reduce overhead.
Example 3 — Monthly newsletter for a small org
- Recommendation: Start with a Doc for the SOP (editable) while the format evolves. Once stable, convert to a checklist template inside a task.
- Why: Editorial processes iterate a lot at first and benefit from a living document before committing to fixed instances.
Example 4 — Volunteer onboarding
- Recommendation: Task with Public Doc link for training materials plus a checklist for necessary steps (forms completed, access granted, orientation session).
- Why: Volunteers need a protected, readable guide and clear checkboxes so managers can track readiness.
Maintenance habits to keep SOPs useful
Even the best set of templates dies on the vine if nobody owns updates. Add these simple habits:
- Quarterly review: The designated process owner reviews key SOPs for relevance and accuracy.
- Change log: Keep a short "recent changes" section at the top of the doc so users can see what changed and why.
- Improvement form: A one-line form to submit suggested edits funnels improvements to the right person without cluttering the SOP.
- Permission model: Limit edit access to a small editorial team, but allow broader read access. For living docs, allow edits only to trusted employees.
- Celebrate wins: When an SOP saves time, call it out. This reinforces the value and encourages adherence.
Checklist: Which template style to start with today
- If you need step-level assignments and scheduling -> Start with Subtasks.
- If you want something quick and simple -> Start with Checklists.
- If the process is long-lived or frequently updated -> Start with ClickUp Docs and consider the Hybrid model.
- If contractors or volunteers need read-only access -> Use Public Docs and link them into tasks.
Common pitfalls and how to avoid them
- Pitfall: Too much text in a task description. Solution: Use a doc when the SOP is longer than a few paragraphs to keep readability and formatting.
- Pitfall: No feedback path. Solution: Add a form or a "suggest improvement" task link to capture real-world learnings.
- Pitfall: Everyone edits the canonical doc. Solution: Use edit permissions and a small editorial team or a suggested-changes workflow.
- Pitfall: Templates sit unused. Solution: Pilot one process, train the team, and show quick wins to build trust in the system.
Small checklist to launch your first template in 60–90 minutes
- Pick a process that happens weekly or monthly.
- Decide between Checklist, Subtask, Description, Doc, Public Doc, or Hybrid.
- Create a template task (or a template doc) and include a short step list and a feedback link.
- Assign one person as the process owner and add their name as a custom field.
- Run the process and collect improvement notes for one cycle, then update the SOP.
Extra tips for nonprofits (stretch resources, volunteers, and compliance)
- Use public docs for training materials: Volunteers can access read-only guides without needing a ClickUp seat.
- Leverage checklists for intake forms: Keep the intake experience simple and assign the intake task to one staff member to track completion.
- Document compliance steps as non-editable docs: Maintain a change log and make the compliance owner the only editor.
Final thoughts: start small and iterate
The technology is less important than the habit. Start with the simplest method that reduces friction for your team, then iterate. If your SOP changes a lot, move to docs or a hybrid. If your team needs step-level visibility, use subtasks. Combining a non-editable doc with lightweight subtasks is often the best compromise for small organizations that need both control and clarity.
Pick one process, get it into ClickUp with one of the methods above, and commit to a single review cycle. After that, you’ll have a template you can reuse and improve. Templates are tools to reduce friction, not a final destination.
FAQ
How do I decide between a checklist and subtasks?
Use a checklist for short, simple tasks that don’t need individual due dates or dependencies. Choose subtasks when each step needs its own assignee, due date, priority, or needs to show up in personal task lists.
How can I avoid having to update dozens of instances when the process changes?
Store the canonical instructions in a ClickUp Doc and link to it from tasks. Use a public non-editable link for wider audiences or an editable doc for trusted teams. The Hybrid model (doc + placeholder subtasks) preserves visibility while centralizing the instructions.
Can volunteers access SOP docs without a ClickUp seat?
Yes. Generate a public read-only link for the ClickUp Doc and share that link. Volunteers can read the instructions without a paid seat or edit permissions.
Should I keep templates in a separate Templates space?
Yes. A dedicated Templates space reduces accidental edits and makes it easy for the team to duplicate official templates instead of copying ad-hoc task versions.
How do I collect feedback on a locked SOP?
Add a simple ClickUp Form, a "Suggest an improvement" button, or a small feedback task linked in the template. Make sure feedback goes to the process owner for review and incorporation.
What’s the easiest method to print SOPs?
ClickUp Docs and task descriptions print more cleanly than nested subtasks. If printing is a priority, prefer docs or descriptions for the primary instructional content.
Useful screenshots and where to look in your workspace
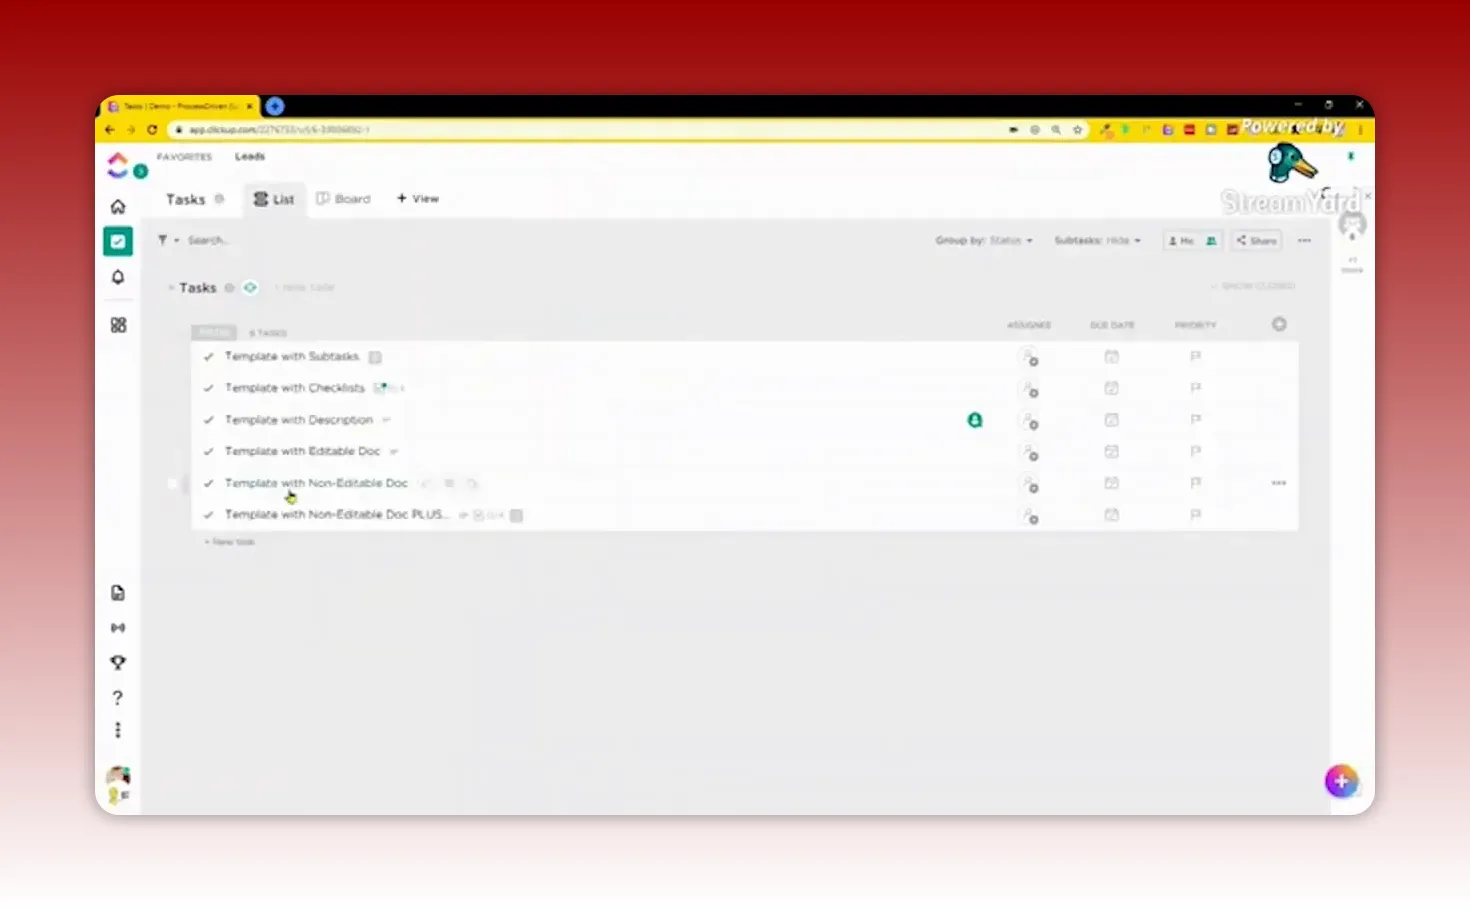
The following images show the concepts described above inside ClickUp. Use them as a visual reference when you build your templates.
If you try one of these approaches and want a sanity check, adopt a pilot mindset: build a minimal template, run one cycle, gather feedback, then improve. Your SOPs do not have to be perfect. They just have to exist and get better over time.
Implementing even one templating change will save time and reduce the cognitive load on your team. Start with a process that happens regularly and make the improvements visible. Small wins compound quickly.
This article was created based on the video 6 Ways to Create SOPs & Template Tasks | Advanced ClickUp Tutorial.


